Ultimate Guide to Contamination Analysis and Technical Cleanliness
Introduction to Contamination Analysis
What is Contamination Analysis?
Contamination refers to foreign particles and residues that form during the manufacturing process of components. These contaminants can stick to surfaces, reducing system performance or even causing major failures. At Vibra Finish, we specialize in surface finishing, ensuring your parts are cleaned and finished to remove all unwanted particles. We adhere to strict quality standards to meet specific contamination requirements, with ISO 16232 being the most recognized benchmark in this field.
Our process involves rinsing the parts with a special extraction fluid to dislodge contaminants. This fluid is then filtered, and the particles are analyzed under a high-magnification microscope, which automatically identifies, counts, and classifies them. This technique allows us to certify our washing process, ensuring your components meet the highest cleanliness standards.
Contamination analysis is critical in industries where precision and reliability are essential. In automotive manufacturing, it ensures that critical components like fuel injectors and braking systems perform flawlessly. The aerospace sector relies on cleanliness to maintain safety and efficiency in high-performance systems. Electronics require contamination-free surfaces to prevent short circuits and ensure the longevity of sensitive components. Vibra Finish provides solutions tailored to meet the rigorous standards of these industries.
The Importance of Technical Cleanliness
Contaminants can disrupt the performance of mechanical and electronic systems, and lead to accelerated wear, reduced lifespan and catastrophic failures. Technical cleanliness goes beyond a superficial inspection; it involves rigorous, repeatable analysis that scientifically assess and verify the absence of contamination.
In industries like automotive, aerospace, and healthcare, where precision, safety, and high production volumes are critical, contamination can lead to catastrophic consequences such as costly recalls, system failures, or life-threatening risks. Ensuring technical cleanliness through rigorous and reliable processes not only safeguards operations and users but also controls costs and maintains the dependability of millions of components produced annually.
Key Standards and Regulations for Cleanliness Testing
ISO 16232: The Automotive Cleanliness Benchmark
ISO 16232 establishes comprehensive methods for assessing particle contamination in automotive components, offering manufacturers a structured framework for compliance. It defines key metrics for particle size and distribution, specifies the materials and equipment required—such as extraction fluids—and outlines the necessary report details and personnel training for accurate implementation.
The procedure involves rinsing the cleaned surfaces with a jet of extraction fluid to dislodge any remaining contaminants. The resulting fluid is collected, filtered, and the filter is analyzed under a high-magnification microscope equipped with image analysis capabilities. Using specialized software, all particles are identified, measured, and counted. These findings are compiled into a detailed report. Approval is based on contamination criteria, which define the maximum allowable number of particles within specific size ranges.
VDA 19: Ensuring Cleanliness in Manufacturing
VDA 19 complements ISO 16232 by addressing cleanliness in broader manufacturing environments. While ISO 16232 focuses on automotive applications, VDA 19, developed by the German Association of the Automotive Industry (Verband der Automobilindustrie, VDA), extends its scope to include industries beyond road vehicles. Together, these standards establish the benchmark for industrial cleanliness.
VDA 19 is widely used in Europe and includes specific guidelines for maintaining cleanliness in assembly environments. With expertise in both ISO 16232 and VDA 19, Vibra can perform cleanliness testing to ensure your parts meet international standards, enabling you to confidently sell your products worldwide.
Additional Cleanliness Standards in Industrial Applications
Different industries, such as medical devices and precision instruments, have developed specific cleanliness guidelines to meet their unique requirements. At Vibra, we excel in adapting our processes to meet the precise needs of our customers, including renowned companies like Héroux Devtek, Pratt & Whitney, Rolls Royce, and General Motors.
As technology advances, the demand for higher accuracy and more detailed information continues to grow. At Vibra, we continuously evolve. Our engineers stay at the forefront of industry innovations, and we invest in state-of-the-art equipment to exceed your expectations. In fact, we already have the tools you may not yet know you need. For instance, our advanced Keyence microscope features next-generation imaging capabilities, high-performance software, and a polarizer to identify metallic particles with precision. This ensures we deliver unmatched cleanliness analysis for your most demanding applications. Our microscope can perform gravimetric, elemental and Light scattering method.
Understanding Contamination Particle Size and Its Role
Why Particle Size Matters in Cleanliness Analysis
Larger particles can block fluid passages reducing the lubrication effect, while microscopic particles may accelerate wear. Controlling particle size ensures efficiency and reliability.
Advanced Methods for Measuring Particle Size
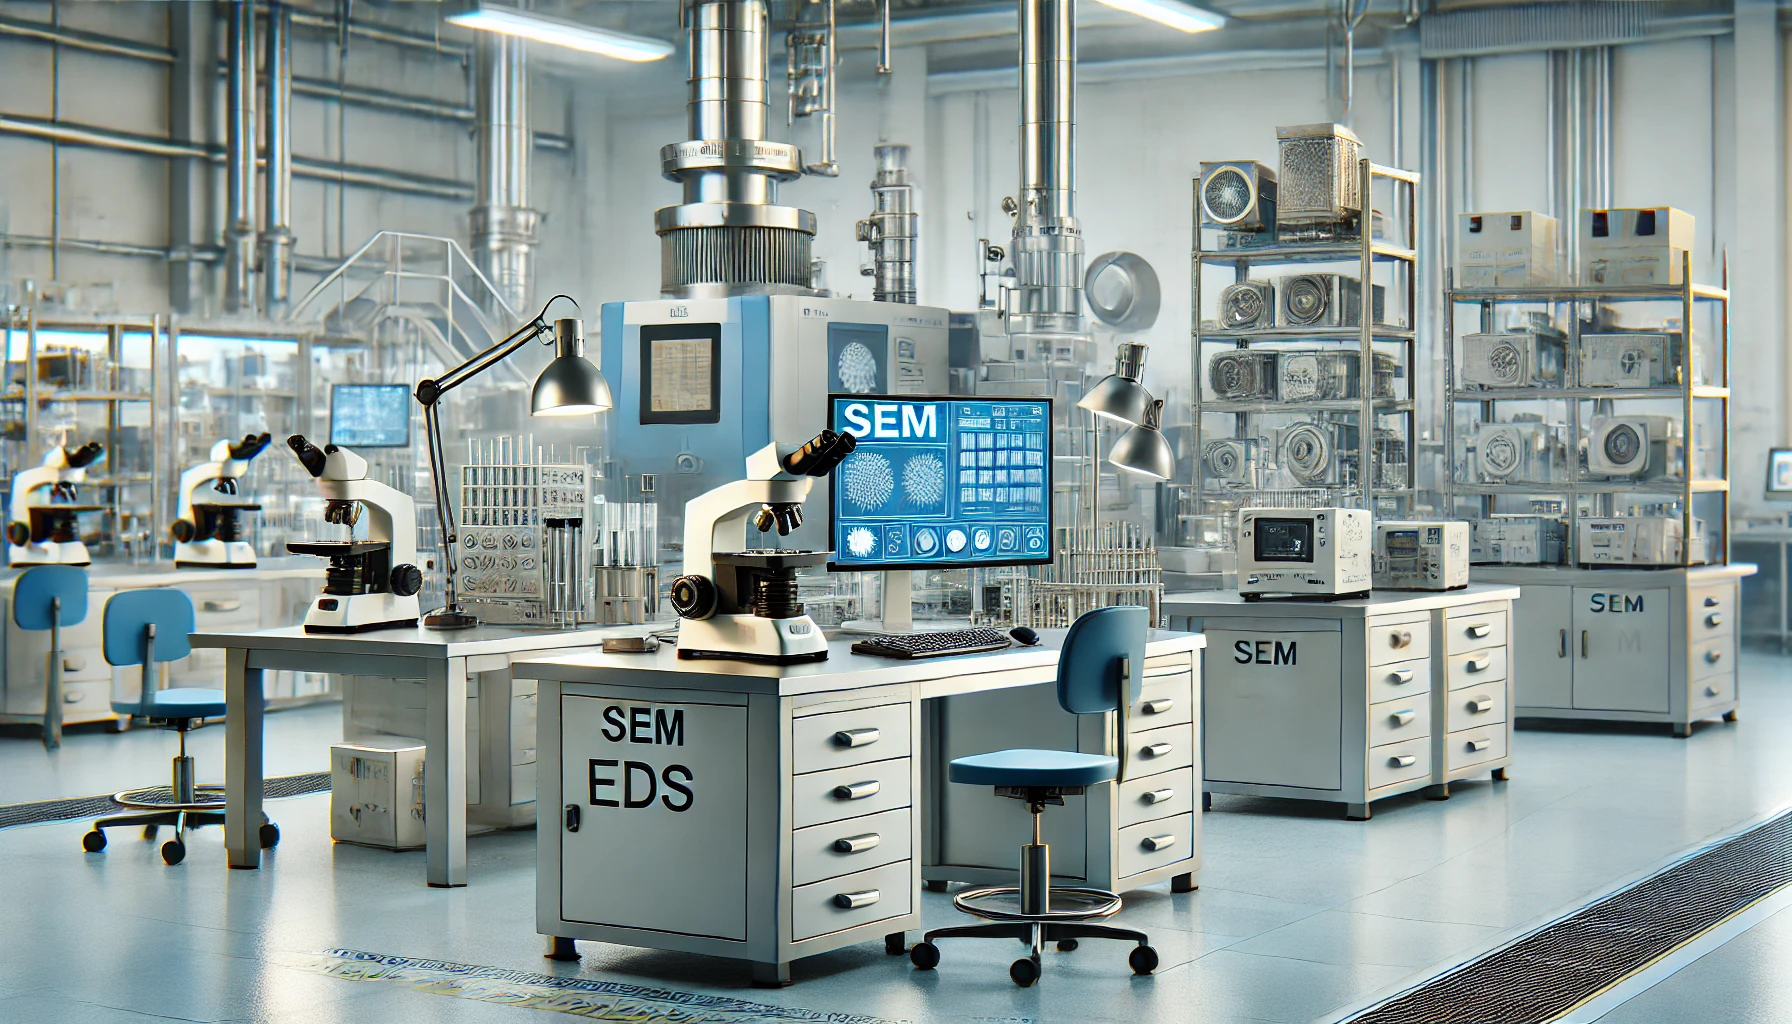
We use cutting-edge digital microscopy to image and analyze particles with precision. Our state-of-the-art Keyence device offers ultra-high-definition imaging, advanced illumination, shadowing techniques, and powerful software. This allows us to achieve resolutions comparable to expensive SEM devices, but with greater efficiency and ease.
The software automatically detects and measures particles, ensuring consistent and repeatable results. Our experienced operators carefully review all images and can re-examine individual particles when necessary to maintain accuracy. This meticulous process ensures that every particle adheres to strict quality standards before validation. To meet stringent aerospace requirements, all results and applied filters are securely recorded for full traceability.
Methods and Techniques for Cleanliness Testing
Overview of Cleanliness Testing Procedures
At our facility, we use a variety of cleanliness testing techniques to ensure your components meet the highest quality standards.
- Optical Imaging Analysis: This is our primary method, where we use advanced microscopes to observe and measure particle sizes. The results provide detailed sizing distribution, which directly correlates to the cleanliness level of the part and the efficiency of the washing process. This technique can be complemented by elemental analysis, which helps identify the material composition of the particles, such as metallic or non-metallic substances.
- Gravimetric Analysis: In this method, we weigh the filters before and after filtering the extraction fluid. The difference in weight, caused by the residues remaining on the filter, indicates the level of contamination on the part.
Comparing Gravimetric and Microscopic Testing
While both methods are effective, they offer different advantages:
- Gravimetric Analysis provides direct, measurable results but is purely quantitative.
- Optical Imaging Analysis in microscope testing provides both qualitative and quantitative data. It identifies the type of contaminants (e.g., dust, fibers, metals) and measures their size distribution and quantity, offering a more comprehensive understanding of cleanliness.
Optical imaging requires more specialized equipment, such as calibrated microscopes, to meet stringent quality standards, while gravimetric is simpler and requires only a high-accuracy weighing system. Both methods are valuable, and we carefully select the most appropriate one based on your specific cleanliness requirements. We handle the entire process, including equipment management, so you can focus on your operations.
Cleanliness of Components and Systems
Achieving Cleanliness in Automotive Manufacturing
In automotive manufacturing, cleanliness in critical systems like fuel injection is essential. Even the smallest particle can contaminate fluids like gasoline or oil in brand new vehicles. This contamination can compromise engine performance, reduce longevity, and impact overall safety.
We use advanced inspection techniques to ensure all parts meet the required cleanliness standards. Our quality process adheres to the ISO 16232 standard, and we can adapt to your specific requirements. Our methods include microscopic analysis, gravimetric testing, and elemental identification.
Surface Cleanliness in Precision Industries
Maintaining surface cleanliness is a major challenge in industries like aerospace and electronics, where even trace amounts of contamination can compromise performance and safety. The slightest touch from a human hand or dust in the air can deposit particles on a surface. Even a poorly managed industrial washing process can introduce contamination, particularly when fluids are involved.
To address these challenges, our washing processes follow the strictest quality standards from military and aerospace, including AS9100D and NADCAP procedures. These standards guide not only the purity of our products but also our daily operations. Our employees are trained to ensure contamination-free surfaces, and our management conducts regular process improvement reviews. We minimize human contact, especially after washing, and maintain a Foreign Object Debris (FOD)-free environment. By adhering to these practices, we ensure that all components meet the highest cleanliness standards required in precision industries.
Innovations in Part Washing and Cleanliness Control
Role of Part Washing in Cleanliness Compliance
Effective part washing is critical in maintaining cleanliness compliance across industries. It plays a key role in removing contaminants, such as dust, oils, metal shavings, and other particles, which can compromise the performance and safety of critical systems. Without proper washing, even a single contaminant can pollute an entire fluid system, creating a cascading effect that leads to further failures and contamination of other connected systems. To prevent costly product recalls, it’s essential to implement thorough and effective part washing.
Vibra offers advanced part washing solutions that meet the highest standards of cleanliness and compliance. Suitable for a wide range of industries, Vibra’s solutions and certifications ensure thorough and efficient cleaning, eliminating the risk of system failures and product recalls.
Emerging Technologies for Contamination Control
The ISO 16232 standard, introduced in 2007, addressed the challenge of imaging micron-sized particles, which previously required costly electron microscopy and couldn’t verify cleanliness specifications effectively. By the early 2010s, advancements in particle analysis software enabled optical microscopes to perform ISO 16232 tests efficiently. More recently, techniques have advanced further allowing for determination of particle composition using laser-based methods. These provide critical insights for troubleshooting washing processes. These advancements are currently being integrated into new quality standards.
At Vibra, we use the Keyence VHX Series digital microscope to deliver precise ISO 16232 cleanliness testing. This advanced system combines high-resolution imaging with innovative illumination techniques, essential for detecting and analyzing particles to meet stringent cleanliness standards. With fully automated operation through embedded software, the VHX Series ensures seamless compliance with quality requirements, enhancing accuracy and efficiency in contamination analysis.
Challenges in Contamination Analysis
Common Contaminants in Manufacturing
Sources of contamination in industrial processes are diverse, but airborne dust particles settling on surfaces remain the primary issue in such settings. Additionally, materials like metal shavings, fibers, or blasting media often contribute significantly, especially when carried over from other manufacturing steps. Identifying and controlling these sources is essential to maintain clean production environments.
Preventing particle contamination during production requires strict control at every stage. Parts are unpacked, washed, and repackaged immediately to avoid unnecessary exposure. Our fully enclosed washer uses filtered air and washing fluids to eliminate the risk of contaminants entering the system. Once cleaned, parts are promptly protected to ensure they remain dust-free, with minimal handling to prevent exposure to external contaminants. Maintaining a clean environment and ensuring proper upkeep of washing fluid tanks are crucial to avoid foreign object debris (FOD). By reducing unnecessary operations and keeping each step of the process specialized and controlled, we minimize the risk of contamination, ensuring the highest production standards.
Tools and Technologies for Cleanliness Testing
Vibra’s Cleanliness Verification Tools
At Vibra, we leverage cutting-edge technology to deliver precise and reliable cleanliness verification. Our automated Keyence system stands at the forefront of innovation, embedding advanced software that handles every aspect of the cleanliness inspection process. From scanning and detecting particles to measuring their size and generating comprehensive reports, this system ensures accuracy and efficiency at every step.
The seamless integration of these features not only speeds up the verification process but also ensures compliance with stringent industry standards, giving you confidence in your products’ quality. What sets our system apart is its error-proof design. The automation minimizes human error by eliminating the guesswork, as the software performs most of the heavy lifting. Coupled with operator oversight, this creates a double-verification system that leaves no room for mistakes, guaranteeing unmatched reliability. By choosing Vibra, you’re not just investing in cleanliness verification; you’re partnering with a team that combines technological expertise with a commitment to excellence in compliance and quality assurance.
Innovations in Particle Identification
Scanning Electron Microscopy (SEM) now incorporates highly accurate Energy Dispersive Spectroscopy (EDS) systems, using X-ray diffraction to identify the elemental composition of even the smallest particles. Meanwhile, advancements in digital microscopy are narrowing the gap, with integrated laser modules that vaporize a tiny portion of a particle to generate plasma, enabling precise elemental identification.
Emerging tools for faster and more accurate analysis: Advancements in digital microscopy and software have revolutionized particle analysis, automating tasks like image stitching, focusing, and particle measurement on filters. These tools streamline operations by eliminating manual intervention during imaging and reporting, reducing human error while retaining expert validation where necessary.
Real-World Applications and Success Stories
Future of Cleanliness Testing and Standards
Trends in Cleanliness Testing Technologies
Cleanliness testing is evolving rapidly, driven by cutting-edge technologies and a focus on sustainability. AI and machine learning, embedded in digital microscopes for image post-treatment, are transforming particle analysis by enabling automated, highly accurate detection and classification of contaminants. These advanced tools reduce manual effort and provide real-time insights, helping industries meet strict cleanliness standards with unmatched efficiency.
Part washing has been a well-established process for years, but it has long relied solely on expertise, lacking consistent control and verification. Cleanliness testing, supported by the latest technological advancements and standardized methods, now offers a definitive and scientific way to ensure that parts are not only cleaned but meet precise reliability standards. By integrating these innovations, cleanliness testing bridges the gap between assumption and assurance, providing the confidence that their parts are truly ready for use.
Anticipated Updates to ISO and VDA Standards
The future of cleanliness testing standards, including ISO 16232 and VDA 19, highlights an increasing focus on advanced particle size analysis and chemical composition identification. Upcoming revisions are expected to demand the identification of the particle size, shape, and chemical properties. These capabilities are critical for pinpointing contamination sources and resolving issues within manufacturing processes. Cleanliness verification will evolve beyond traditional extraction and particle counting to include comprehensive material analysis that predicts and prevents potential failures.
At Vibra, we are uniquely positioned to help you navigate these changes. Our expertise in cleanliness testing, paired with state-of-the-art equipment, ensures we are always one step ahead of industry demands. We provide solutions that meet not only today’s standards but also those of tomorrow—often before you even realize the need. Trust Vibra to deliver the precision, reliability, and foresight required to keep your processes clean and your products at the forefront of innovation.
FAQs About Contamination Analysis and Cleanliness Testing
What is the Difference Between ISO 16232 and VDA 19?
-> VDA 19 expands on ISO 16232, addressing cleanliness in broader manufacturing environments beyond automotive applications. Widely used in Europe, it provides specific guidelines for assembly environments. Vibra’s expertise in both standards ensures your parts meet international cleanliness requirements, ensuring global market compliance.
How is Particle Size Measured in Cleanliness Testing?
-> We use a contaminant-free fluid to rinse the part, allowing it to extract any particles during the process. After rinsing, we filter the fluid to capture the particles. Finally, we analyze the collected particles on the filter using an advanced digital microscope.
Are You Able to Differentiate Metallic from Non-Metallic Particles During Cleanliness Analysis?
-> Yes. Our cutting-edge equipment uses advanced illumination technology to analyze particle surface reflections. The results are then measured and compared to a database to differentiate metallic from non-metallic materials.


